Plan the pair before starting
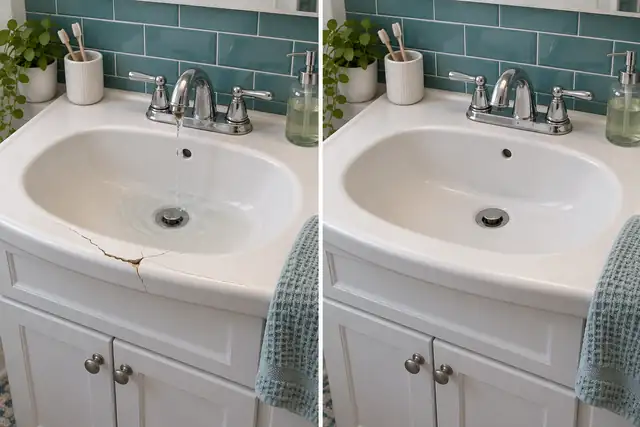
Choose a stable reference such as the edge of a door, a fixture or an equipment label. Stand where you can return after the work. Similar distance, camera height, orientation and lighting make the comparison easier to read.
| Photo | Purpose |
|---|---|
| Before: overview | Identify the room, equipment or work area. |
| Before: detail | Show the issue at a useful scale. |
| After: matching overview | Show the same area after the work. |
| After: matching detail | Show what changed without hiding the surrounding context. |
Capture a repeatable sequence
- Identify the subject Choose a job identifier and a stable visual reference that will remain after the repair.
- Photograph before Capture an overview and a detail before changing the scene.
- Configure the watermark Use a readable time field and a short before/after note; keep the subject unobstructed.
- Repeat the framing afterward Return to the same position and take matching overview and detail photos.
- Review and preserve Compare the saved pictures, correct unclear records by reshooting and keep the original files.
Use notes to identify the subject
Use one job identifier and specific labels such as “Valve B · before” and “Valve B · after.” Avoid vague notes like “done” when the customer receives pictures from several rooms or visits.
A timestamp records the device clock; it is not a measurement of repair quality. Do not let a date, logo or address cover the joint, crack, reading or finish that makes the photograph useful.
Check the comparison before leaving
- Can you recognize the same subject in both images?
- Is the relevant detail visible and in focus?
- Are date, time zone and note correct in each saved photo?
- Did tools, packaging or a changed crop hide the result?
- Is another overview or short video needed to explain the change?
If conditions changed, explain them in a note rather than implying that different lighting or zoom proves a better result. Review the saved pictures while you can still reshoot.
Keep the record and share a suitable copy
Preserve original files and use a clearly ordered pair or small set when sharing. Add a short explanation of the work outside the image if needed. Dates, visible notes and any file metadata should tell a consistent story.
Questions
Is one before and one after photo enough?
Must the photos have identical lighting?
Do timestamps prove the repair was completed?
Sources
Every external source this article cites, with the link it was read from. None of them is a page about our own app.